Creator
This guide walks you through creating a backend service for minting tokens on the blockchain using TradeTrust's Token Registry. You'll learn how to set up a secure and scalable backend infrastructure that enables the creation and management of transferable documents on the blockchain.
What You'll Learn
- Set up a Node.js backend project with TypeScript and Express
- Create and configure a decentralized identifier (did:web) for document signing
- Deploy a Token Registry smart contract on the blockchain
- Implement secure endpoints for minting transferable documents
Who This Guide Is For
This guide is designed for developers who want to:
- Build backend services that interact with blockchain networks
- Create and manage transferable documents using TradeTrust
- Understand the implementation of did:web and Token Registry
Prerequisites
Before starting, ensure you have the following installed:
- Node.js (version 20 or higher)
- npm or yarn
- A code editor, e.g., Visual Studio Code
Setting up the backend project
1. Create a new project directory
mkdir creator-tutorial
cd creator-tutorial
2. Initialize a new Node.js project
npm init -y
3. Install the required dependencies
npm install @ngrok/ngrok @trustvc/trustvc dotenv ethers express
npm install --save-dev @types/express@^4 @types/node concurrently cross-env dotenv-cli nodemon ts-node tsc-alias typescript
4. Set up TypeScript
npx tsc --init
Update tsconfig.json with the following configurations:
{
  "compilerOptions": {
    ...
    "module": "nodenext",
    "moduleResolution": "nodenext",
    "outDir": "./dist",
    ...
  },
  ...
  "include": ["src/**/*.ts"],
  "exclude": ["node_modules"]
}
5. Create an empty Express app
Create a src directory and an index.ts file in it, and add the following code:
import express, { Express, NextFunction, Request, Response } from "express";
import dotenv from "dotenv";

dotenv.config();

const app: Express = express();
const port = process.env.PORT || 3000;

app.get("/", (req, res) => {
  res.send("Hello World!");
});

app.listen(port, () => {
  console.log(`[server]: Server is running at http://localhost:${port}`);
});
6. Update package.json with scripts and nodemon configuration
Create a nodemon.json file in the root directory with the following content:
{
  "watch": ["src"],
  "ext": "ts",
  "exec": "cross-env NODE_ENV=development ts-node src/index.ts"
}
Update package.json with the following scripts:
  ...
  "scripts": {
    ...
    "build": "tsc --project tsconfig.json && tsc-alias -p tsconfig.json",
    "start": "node dist/index.js",
    "dev": "nodemon",
  }
7. Setup script for single-execution commands
To sign and mint tokens, you'll need:
- A signing key pair (did:web)
- A Token Registry contract (smart contract)
In this example, we'll generate these and store:
- Signing private key and contract address in
.env - Signing public key in
did.json(served as a public did:web document)
For a multi-tenant environment, you can convert these scripts to executable functions and store the results in your database securely
7.1 Create a .env file
# Required values
DOMAIN=
WALLET_PRIVATE_KEY=
NET=80002

# Optional
NGROK_AUTHTOKEN=

# Optional depending on network selected
STABILITY_API_KEY=
STABILITY_TESTNET_API_KEY=
INFURA_API_KEY=

# Generated values
DID_KEY_PAIRS=
TOKEN_REGISTRY_ADDRESS=
Specify the following values:
DOMAIN: The domain name where you want to host your did:web.WALLET_PRIVATE_KEY: The private key of the wallet you want to use to deploy the Token Registry contract.NET: The network you want to use to deploy the Token Registry contract. List of Supported Network
Depending on your selected network, you will need to set up the RPC URL. Retrieve the API KEY and add it to the .env file. Refer to here to guide you on your first API KEY.
If you would like to test and validate the issued document on the web, you can use ngrok to expose your local server to the internet.
Generate the authtoken and add it to the .env file under the NGROK_AUTHTOKEN variable.
For more details refer to the ngrok configuration below.
7.2 Create a script to generate a new did:web and store it in the .env file
Create a scripts/utils.ts file and add the following code:
Next create a scripts/generateDidWeb.ts file and add the following code:
The did:web private key will be stored as a stringified JSON object in the DID_KEY_PAIRS variable in the .env file.
While the public did:web will be stored in the did.json file.
7.3 Create a script to deploy a Token Registry contract
You will need to set up the RPC URL for your selected network. Retrieve the API KEY and add it to the .env file.
More details here
Create a scripts/deployTokenRegistry.ts file and add the following code:
The Token Registry contract address will be stored as a string in the TOKEN_REGISTRY_ADDRESS variable in the .env file.
7.4 Update package.json with the new scripts
 ...
  "scripts": {
   ...
    "script:generateDidWeb": "dotenv -e .env npx ts-node ./scripts/generateDidWeb.ts",
    "script:deployTokenRegistry": "dotenv -e .env npx ts-node ./scripts/deployTokenRegistry.ts"
  }
7.5 Run the scripts
npm run script:generateDidWeb
npm run script:deployTokenRegistry
After the execution, the DID_KEY_PAIRS and TOKEN_REGISTRY_ADDRESS variables will be stored in the .env file and the did.json file will be created.
8. Update the express app to serve the did.json file
import fs from "fs";
import path from "path";

...

app.get("/.well-known/did.json", (req: Request, res: Response, next: NextFunction) => {
  try {
    const didJsonPath = path.join(__dirname, "../did.json");
    const didJson = fs.readFileSync(didJsonPath, "utf-8");
    res.json(JSON.parse(didJson));
  } catch (error) {
    console.error(error);
    next(error);
  }
});
8.1 Serve the did:web with ngrok
This step is optional and is only required if you would like to test and validate the issued document on the web. It should only be used for testing purposes.
To expose your local server using ngrok:
- Create an account at ngrok.com
- Get your authtoken and add it to
.envasNGROK_AUTHTOKEN - Create a static domain and add it to
.envasDOMAIN
For more details on static domains, see the ngrok documentation.
Update src/index.ts with the following code, at the end of the file:
*If you have already generated the did:web previously, remember to regenerate it by running the command again:
npm run script:generateDidWeb
8.2 Run the app and test the did:web
npm run dev
curl --location 'localhost:3000/.well-known/did.json'

output:
{"id":"did:web:massive-steadily-crane.ngrok-free.app","verificationMethod":[{"type":"Multikey","id":"did:web:massive-steadily-crane.ngrok-free.app#keys-1","controller":"did:web:massive-steadily-crane.ngrok-free.app","publicKeyMultibase":"zDnaekGZTbQBerwcehBSXLqAg6s55hVEBms1zFy89VHXtJSa9"}],"@context":["https://www.w3.org/ns/did/v1","https://w3id.org/security/multikey/v1"],"authentication":["did:web:massive-steadily-crane.ngrok-free.app#keys-1"],"assertionMethod":["did:web:massive-steadily-crane.ngrok-free.app#keys-1"],"capabilityInvocation":["did:web:massive-steadily-crane.ngrok-free.app#keys-1"],"capabilityDelegation":["did:web:massive-steadily-crane.ngrok-free.app#keys-1"]}
If you have setup ngrok, you can now test the did:web using the universal resolver.
Visit https://dev.uniresolver.io/ and enter the did:web in the input field. did:web:<your-domain>.

9. Update the express app to allow the creation of transferable documents
In this step, we will add a route to allow the creation of transferable documents using the document builder. It will allow the creation of transferable documents with the document type BILL_OF_LADING. We will be using the default renderer to preview the document. To learn more about decentralized rendering, refer to the renderer documentation.
For documents with attachments, you will need to increase the limit of the request body.
Update src/index.ts with the following code:
9.1 Run the app and test the creation of transferable documents
npm run dev
curl --location 'http://localhost:3000/create/bill_of_lading' \
--header 'Content-Type: application/json' \
--data '{"credentialSubject": {"type": ["BillOfLading"],"shipperAddressStreet": "","consigneeName": "","notifyPartyName": "","blNumber": "20250107","scac": "20250107"},"owner": "0xCA93690Bb57EEaB273c796a9309246BC0FB93649","holder": "0xCA93690Bb57EEaB273c796a9309246BC0FB93649"}'

output:
{"signedW3CDocument":{"@context":["https://www.w3.org/ns/credentials/v2","https://w3id.org/security/data-integrity/v2","https://trustvc.io/context/transferable-records-context.json","https://trustvc.io/context/render-method-context-v2.json","https://trustvc.io/context/attachments-context.json","https://trustvc.io/context/bill-of-lading.json"],"type":["VerifiableCredential"],"credentialStatus":{"type":"TransferableRecords","tokenNetwork":{"chain":"POL","chainId":"80002"},"tokenRegistry":"0x3652efbc80ace560844afc932d2bf8b452a96c6d","tokenId":"b91d5b4dfcc23d33f7be4f2620dd569c89987e8299bc4b67f6edb95b0bbbb46b"},"renderMethod":[{"id":"https://generic-templates.tradetrust.io","type":"EMBEDDED_RENDERER","templateName":"BILL_OF_LADING"}],"credentialSubject":{"type":["BillOfLading"],"shipperAddressStreet":"","consigneeName":"","notifyPartyName":"","blNumber":"20250107","scac":"20250107"},"validFrom":"2025-06-30T08:58:15.679Z","validUntil":"2025-09-30T08:58:15.679Z","issuer":"did:web:did.trustvc.io","id":"urn:bnid:_:0197c00e-f6ff-755b-88a2-a9e2f3974140","proof":{"type":"DataIntegrityProof","created":"2025-06-30T08:58:16Z",
"cryptosuite": "ecdsa-sd-2023","proofPurpose":"assertionMethod","proofValue":"hZXGbdsA9oFArnVg2yjpoR6M+FOL8JDsRyngG/56y7V6GVWfWJPjHOLvizcolJDIBZv2+0Ch0WCIYewp/jE2bGDy4XALHFGj8hM5lW5hB4kio0Kglkol4OlKw+eZ8ujstHAB9XhFu7/XwAcKOB02TQ==","verificationMethod":"did:web:did.trustvc.io#keys-1"}},"txHash":"0x2b57d581fd1434d5e9409af65d33358bc8436f2b9c412d2e7c687217500a58c9"}
Conclusion
In this tutorial, You've learned how to:
- Create a did:web identifier
- Deploy a Token Registry contract
- Create transferable documents using the Token Registry
Find the complete code in the creator-tutorial repository.
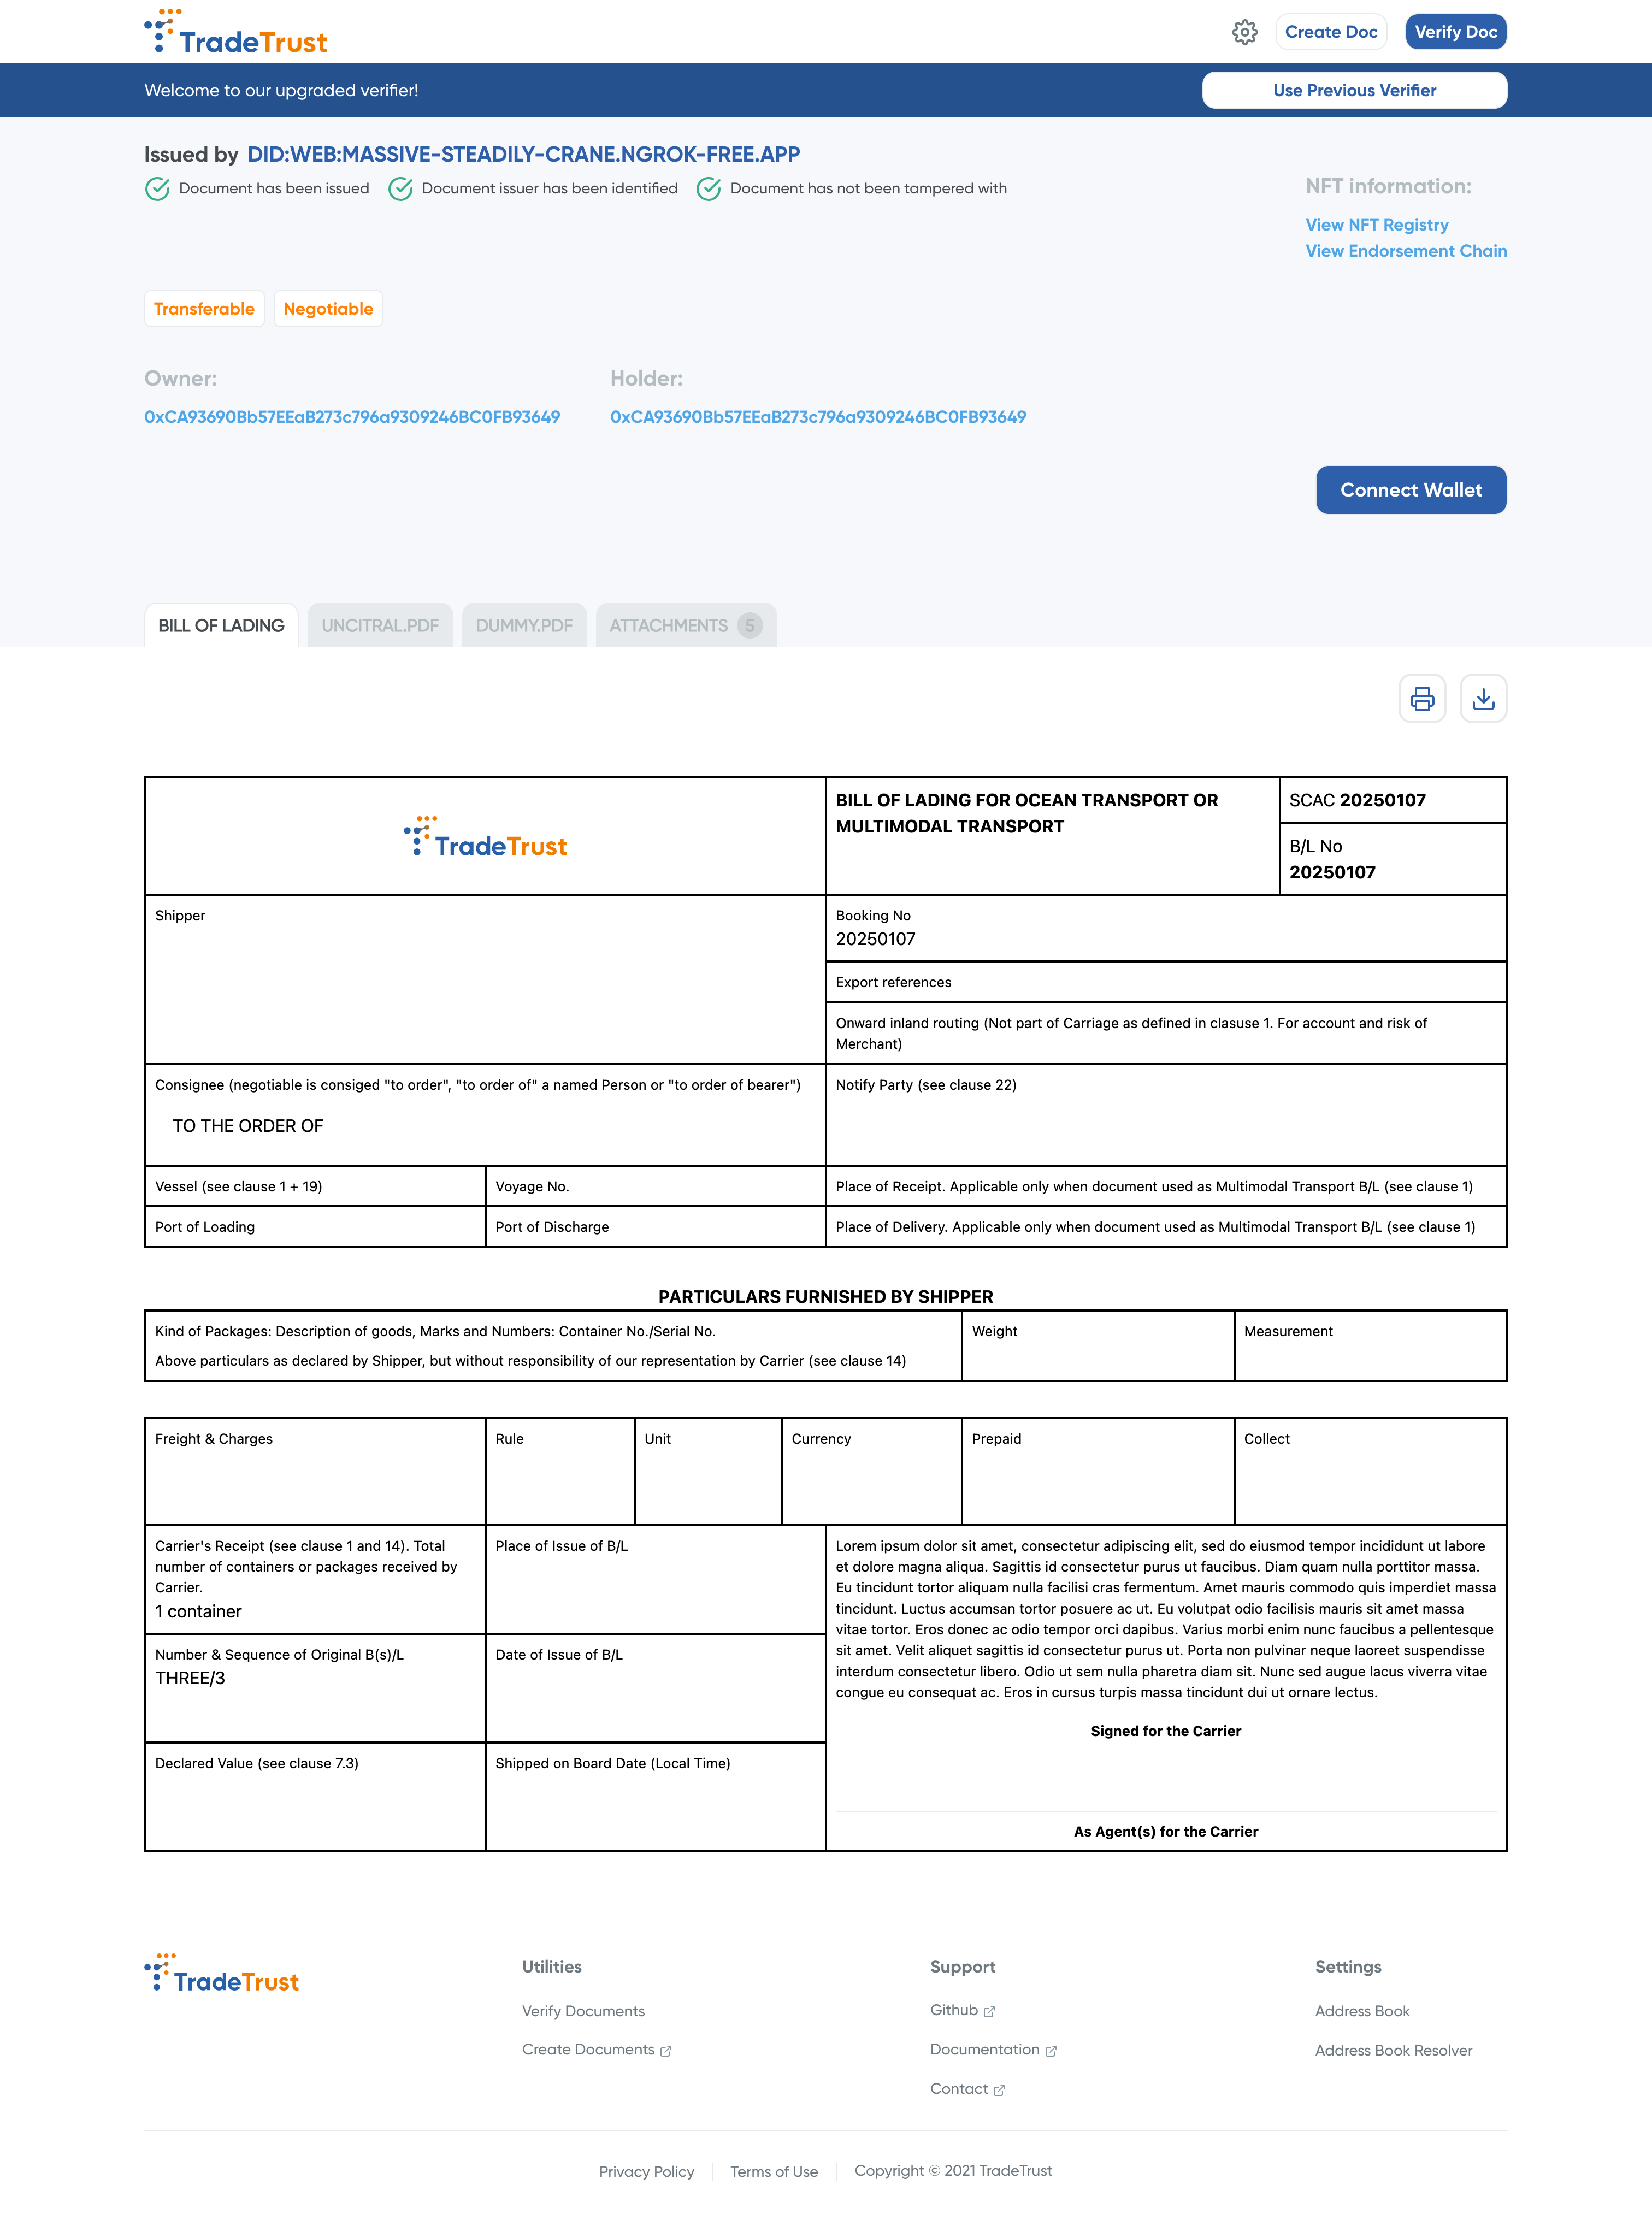
Optional: Post validation using tradetrust.io
You might face issues with ngrok on browsers. A workaround can be found here.
- Save
signedW3CDocumentobject from the output value from step 9.1 and save it as a .tt file, e.g.sample.tt - Visit testnet / mainnet and upload the file.
- You will be able to view the document.